
Cycling and walking are healthy. They are both good ways to work on your condition and your health in general. Doctors and other health professionals often advise their patients to walk or cycle more for good reason. But which is better to do? Which is healthier, biking or walking? This question will be answered today.
How to Properly Inflate Your BESV E-Bike Tires: A Step-by-Step Guide
Inflating your BESV e-bike tire might seem like a no-brainer, but there’s a right way to do it to ensure you get the best out of your ride. The pump you use needs to be compatible with your e-bike’s valve, and the tire pressure has to be just right. This article will guide you through the correct steps to inflate your tire, so you can enjoy a smooth and efficient ride.


The Importance of Proper Tire Inflation
Getting the air pressure just right in your e-bike’s tires is more crucial than you might think. Tires are engineered to perform optimally at specific pressure levels. Inflate them too much or too little, and you’re inviting the risk of a puncture—something no one wants to deal with.
But it’s not just about avoiding flats. Proper inflation also impacts your ride’s performance and your comfort. Under-inflated tires increase rolling resistance, making you work harder to pedal and draining your battery faster. Over-inflated tires, on the other hand, offer less cushioning, transmitting every road imperfection straight to your wrists. Clearly, neither scenario is ideal.
Understanding the Three Common Types of Bike Valves
Before you get down to inflating your bike tire, it’s crucial to identify the type of valve your bike tube uses. The pump head is designed to fit a specific valve type, so you’ll need to ensure you have the correct pump or an appropriate adapter. If you own a BESV e-bike, your bike will feature one of these three valve types:
- Dutch Valve
- French Valve
- Car Valve
Dutch Valve
Also known as the Dunlop valve, the Dutch valve is the most commonly used type. You’ll find it on nearly all city bikes, and most bike pumps come standard with a head compatible with this valve. If you own a BESV City e-bike, it will be equipped with a Dutch valve.

French valve (Presta)
The French Valve
Also known as the Presta valve, the French valve is slimmer than its Dutch counterpart and comes with an additional locking cap. Due to its smaller diameter, the hole in the wheel rim through which the valve extends is also smaller. This makes it an excellent choice for sporty bikes with narrow rims, like road bikes and high-performance e-bikes. Our BESV Trekking models come standard with French valves.
Car Valve (Schrader)
If you have a mountain bike, such as a BESV e-MTB, it will likely be equipped with a Car valve, also known as a Schrader valve. This valve is exceptionally sturdy, making it perfect for all your off-road escapades. Moreover, it’s a universal valve used in various applications worldwide—cars, motorcycles, scooters, and even some appliances. This means you can easily find a compatible pump at any gas station.


Optimal Bicycle Tyre Pressure: What You Need to Know
Determining the correct tyre pressure is crucial for a smooth and safe cycling experience. However, the ideal pressure varies depending on the type of bike and the specific tyres you have. Here’s a general guideline:
- 1. City Bikes: Typically, the pressure should be between 2.5 and 3.5 bar.
- 2. Mountain Bikes: Aim for a pressure range of 1.4 to 2.6 bar.
- 3. Road Bikes and Sporty E-bikes: The ideal pressure is usually between 6.0 and 9.0 bar.
Remember, these figures are just a starting point. You’ll find the manufacturer’s recommended tyre pressure printed on the tyre itself. A good rule of thumb is to aim for the midpoint of the suggested range when inflating your tyres. From there, you can adjust according to your preferences. For instance, heavier riders may prefer a slightly higher pressure, while those planning to ride in muddy or snowy conditions might opt for a lower pressure to increase grip.
The Complete Guide to Inflating Your BESV Bicycle Tires
Once you’ve identified the type of valve your tyre has and determined the ideal pressure, you’re ready to proceed with inflating your tyre. Here’s a step-by-step guide that applies to all valve types, with specific notes for French valves.
- Step 0: Choose the Right Pump
Before you begin, make sure you have a suitable pump. Modern pumps usually come with a universal head that fits all valve types. If not, an adapter will do the trick. We recommend using a pump with a built-in pressure gauge for accurate inflation. A pump with a hose is also advisable to minimize the risk of damaging the valve.
- Step 1: Position the Valve
Start by turning the valve so that it faces downward. This makes it easier to attach the pump head.
- Step 2: Remove the Cap(s)
Unscrew the valve cap. If you have a French valve, you’ll also need to unscrew the additional cap on the valve. Be cautious not to unscrew it too far, as this could release all the air from the tyre, which is not what you want.
- Step 3: Time to Pump!
Attach the pump head to the valve and start pumping until the tyre reaches the desired pressure.
- Step 4: Secure the Cap(s)
The final step is to screw the cap back onto the valve. If you have a French valve, don’t forget to also screw the additional cap back on. Double-check the rim nut, especially if you have a French valve, to ensure it’s tight and prevents any air leakage.

OTHERS ALSO READ
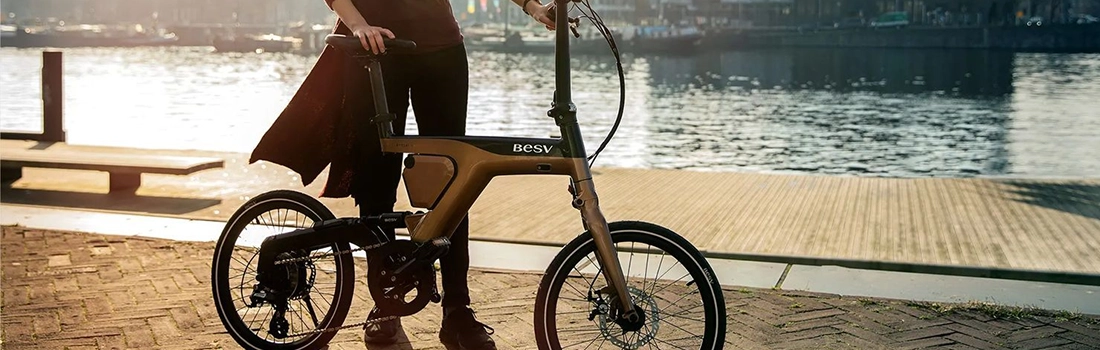
Five advantages of an electric folding bike
You see them more and more these days: foldable e-bikes. And that is no surpriser! The electric folding bike has undergone a great development in recent years. As a result, such a bicycle is actually as good as a standard e-bike in terms of performance, range and user experience. Moreover, an electric folding bike has…
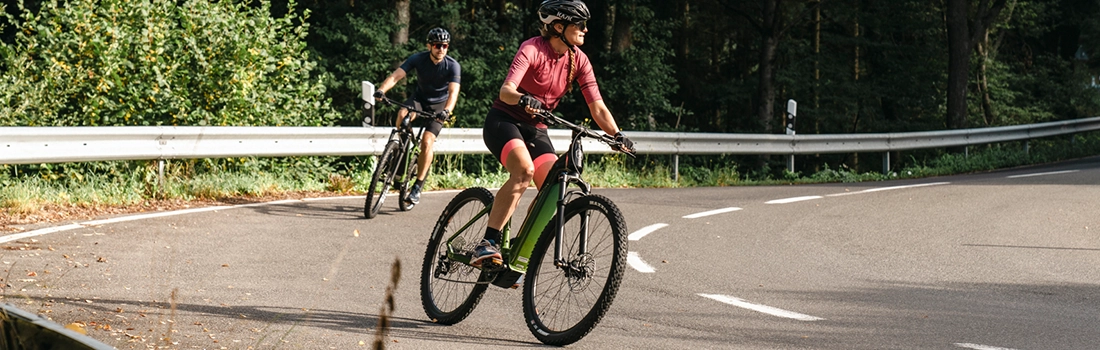
Sportive Electric Bikes
Looking for a fun and fast electric bike? BESV is the place to go. Our e-bikes are made to give you a great ride, no matter where you’re going. You can use them for getting to work or just for fun rides. And guess what? Even our simplest bike is still pretty sporty. Want to…